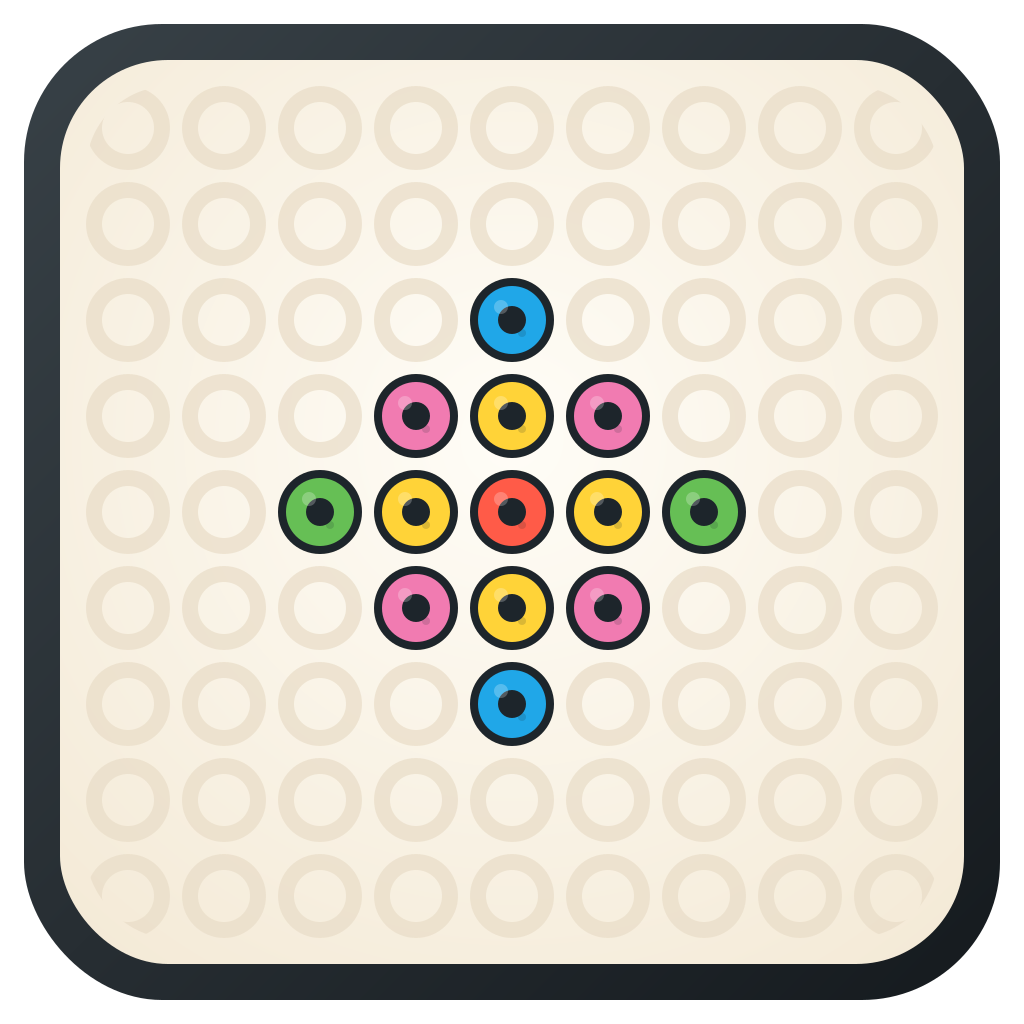
 Perler Bead
Arrange colorful plastic beads on a pegboard, cover with ironing paper, and heat to fuse into a finished craft.
Perler Beads Beginner Guide
Learn to make your first Perler bead creation from scratch.
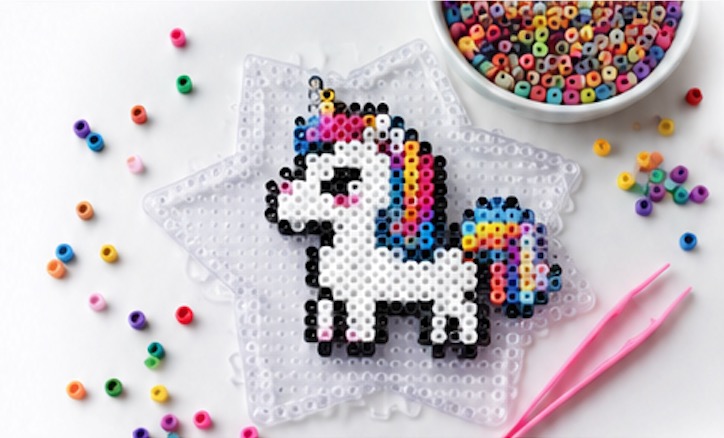
01
What are Perler Beads
02
What Tools You Need
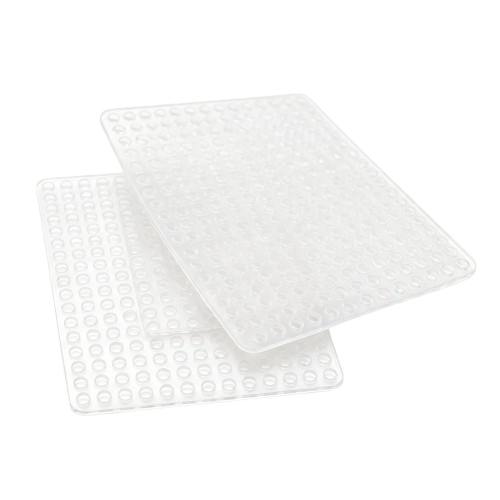
Pegboard
Plastic boards with raised pegs to hold beads
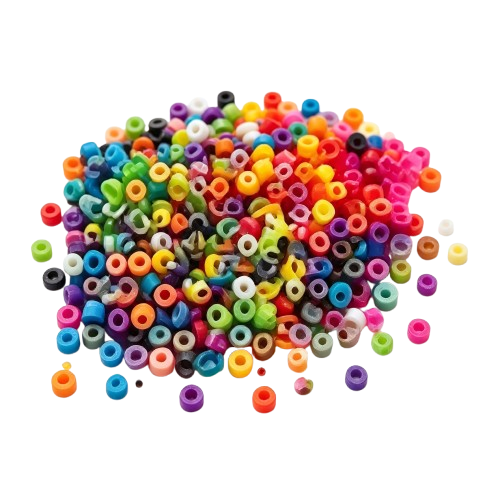
Perler Beads
Colorful beads in various color codes
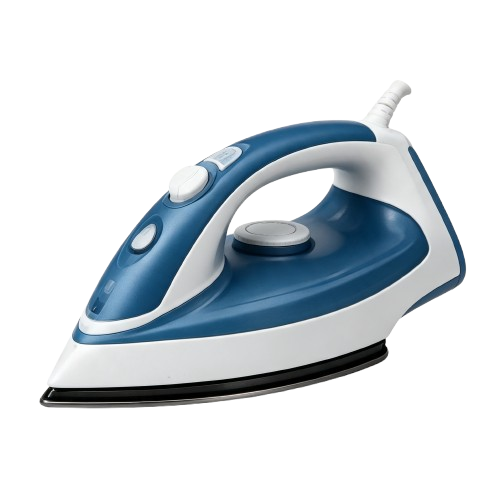
Iron
Regular household iron for fusing
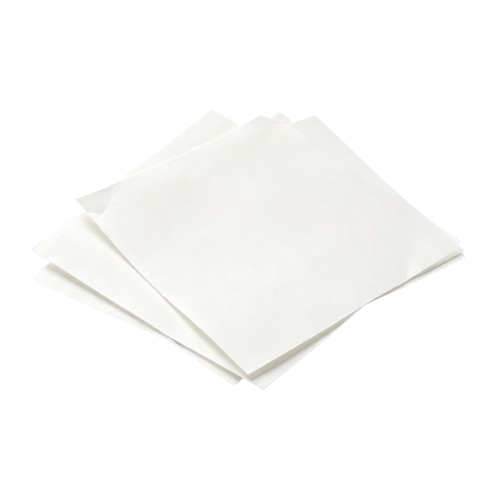
Ironing Paper
Covers your design to protect beads from the iron
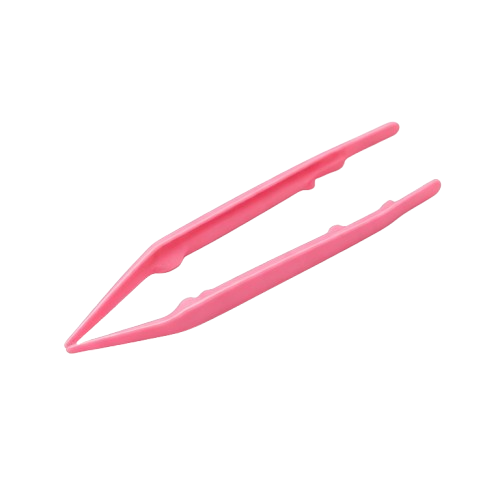
Tweezers
Helps pick up and place small beads
03
How to Make It
01
Prepare pattern
Convert image to bead pattern
02
Place beads
Start from bottom-left, row by row
03
Check colors
Confirm colors are correct, adjustments won't affect final result
04
Cover with paper
Ensure the entire design is covered
05
Iron evenly
Move in circles, don't stay in one spot too long
06
Cool & set
Let cool before removing from board
04
Ironing Steps & Tips
Recommended
- ✔ Low-medium heat
- ✔ Keep iron moving
- ✔ Cool naturally
- ✔ Light iron on both sides
Common Mistakes
- ✘ Heat too high
- ✘ Iron too long
- ✘ No ironing paper
- ✘ Pick up before cooling
Ready to start?
Start making your first bead creation!
Start generating bead patterns